Showing posts with label William Morris. Show all posts

Thursday, June 14, 2012

William Morris Thursday - A little of this and a little of that


I just couldn't write another WM post with 'random' in the title so I switched it up a bit. Even though it's really more of the same thing.

I feel like I've been hit with an avalanche of projects ever since I pulled that one out from the bottom of the pile. Kind of like that orange that looks so perfect you have to have it. Then all the rest come tumbling down after it. Now that school is out, and since I'm the teacher that's important, I have the freedom to flit from one project to the other without the pressure of finishing and cleaning up so we have the space to do school. That's also my number one problem right now. Too much free time with no schedule. My house looks like a crafter's disaster. Here's a sampling of what I've been working on the past two weeks...

Switched out my dining room light fixture from this


to this. Ah, much better. I'm still not sure it'll stay white and I don't know what to do with the dingy, bland cord, but it's an overall improvement. I'll also mention that projects like this and this can sometimes be good for your marriage. ;)


Took a couple of thrift store lamps, spray painted them white, added semi-homemade shades and called it a day.


Made a hanging planter out of an old colander I got at the ReStore for a dollar and planted some Purslane in it. Speaking of edible weeds, have you ever tried Purslane? It's a little bit tangy and spicy and my husband loves it so much that he grabs a sprig and eats it every time he walks past it. I'll post a little toot on how I did it later. Until then, here's the finished product hanging on the porch.


And, to be fair, I thought I'd include a hair-brained idea I had and followed through with and promptly deemed a failure. I bet you're just dying to hear about this one.

Here we have a shirt that I bought at Goodwill for $cheap.99. I love it. Or should I say, I loved it. It's Ann Taylor Loft and it's light and soft and I love the colors in it. (You'd probably agree with me if I hadn't taken a picture of it like it's a slipcover for my couch.) Then I wore it a few times and spilled stuff on it. Because ladies, that's what I do. I'm not a careful eater and I'm not gentle on clothes. I don't usually follow the standard rules of laundry either, so I ruin a lot of stuff accidentally. That's also why I try not to borrow things. But that's another story for another time.


Some of the stains I wouldn't really even consider stains. They're more like mystery spots. Sometimes they show up and sometimes they don't. (Maybe what I need is an exorcist) My point is that it wasn't bad enough to just throw the shirt in the giveaway pile, but it was getting a little too dingy for me to feel comfortable wearing. I once dyed a white skirt of my daughter's blue because I couldn't get a stain out but didn't want to part with it. It worked beautifully so I decided to try a similar measure on the shirt. I didn't want to go with blue, which is the color dye I already had on hand, and I didn't want to wait because I'm not good at that. I was in the kitchen when I noticed my coffee pot sitting there, with about 3 cups of coffee in it from that morning. The next thing I knew, I was stuffing the shirt into a big metal bowl and pouring the coffee over it. This is what I ended up with. And I liked it.


Then I went and washed it. That's what you do after you dye something, right? Well, apparently my laundry detergent can't remove mystery stains, but it has no problem removing coffee stains. The shirt came out the same dingy white it was before except for one small area. Actually two areas. The coffee and subsequent washing somehow made sweat stains that were practically invisible before this experiment bright yellow. So now I have a dingy white shirt with bright yellow stains in the arm pits. Nice.


Maybe I'll try again and let the coffee sit longer or maybe there's something that I can use to 'set' the stain before I wash it. Anyway, I'm not quite ready to let the shirt go. I'll keep you updated. I know this is riveting subject matter and I don't want to leave you hanging. Like the shirt. You know, hanging. Thanks, I'll be here all week.

And here's a peek into what I'm working on for next week. It involves using my newly acquired WM skills to make some money. Hopefully.


Thursday, May 24, 2012

William Morris Thursday - random projects


Last Thursday, my incredibly sweet friend, Brenda, came over to help me work on my couch project. We had already gone shopping for our supplies the week before so we were ready to start laying and cutting fabric. It was kind of scary when we made the first cut, but after that, I kept reminding myself that I wanted the pieces to look comfortable and a little slouchy. I'm positive whatever they end up being they'll be slouchy.


We got one couch cut out and pinned and we were out of time. Yesterday, she came over and we got the other couch cut out and pinned and started to work on the piping. Some of my friends couldn't believe I was actually going to go to the trouble of making piping, but even though I want it slouchy, I don't want it sloppy.


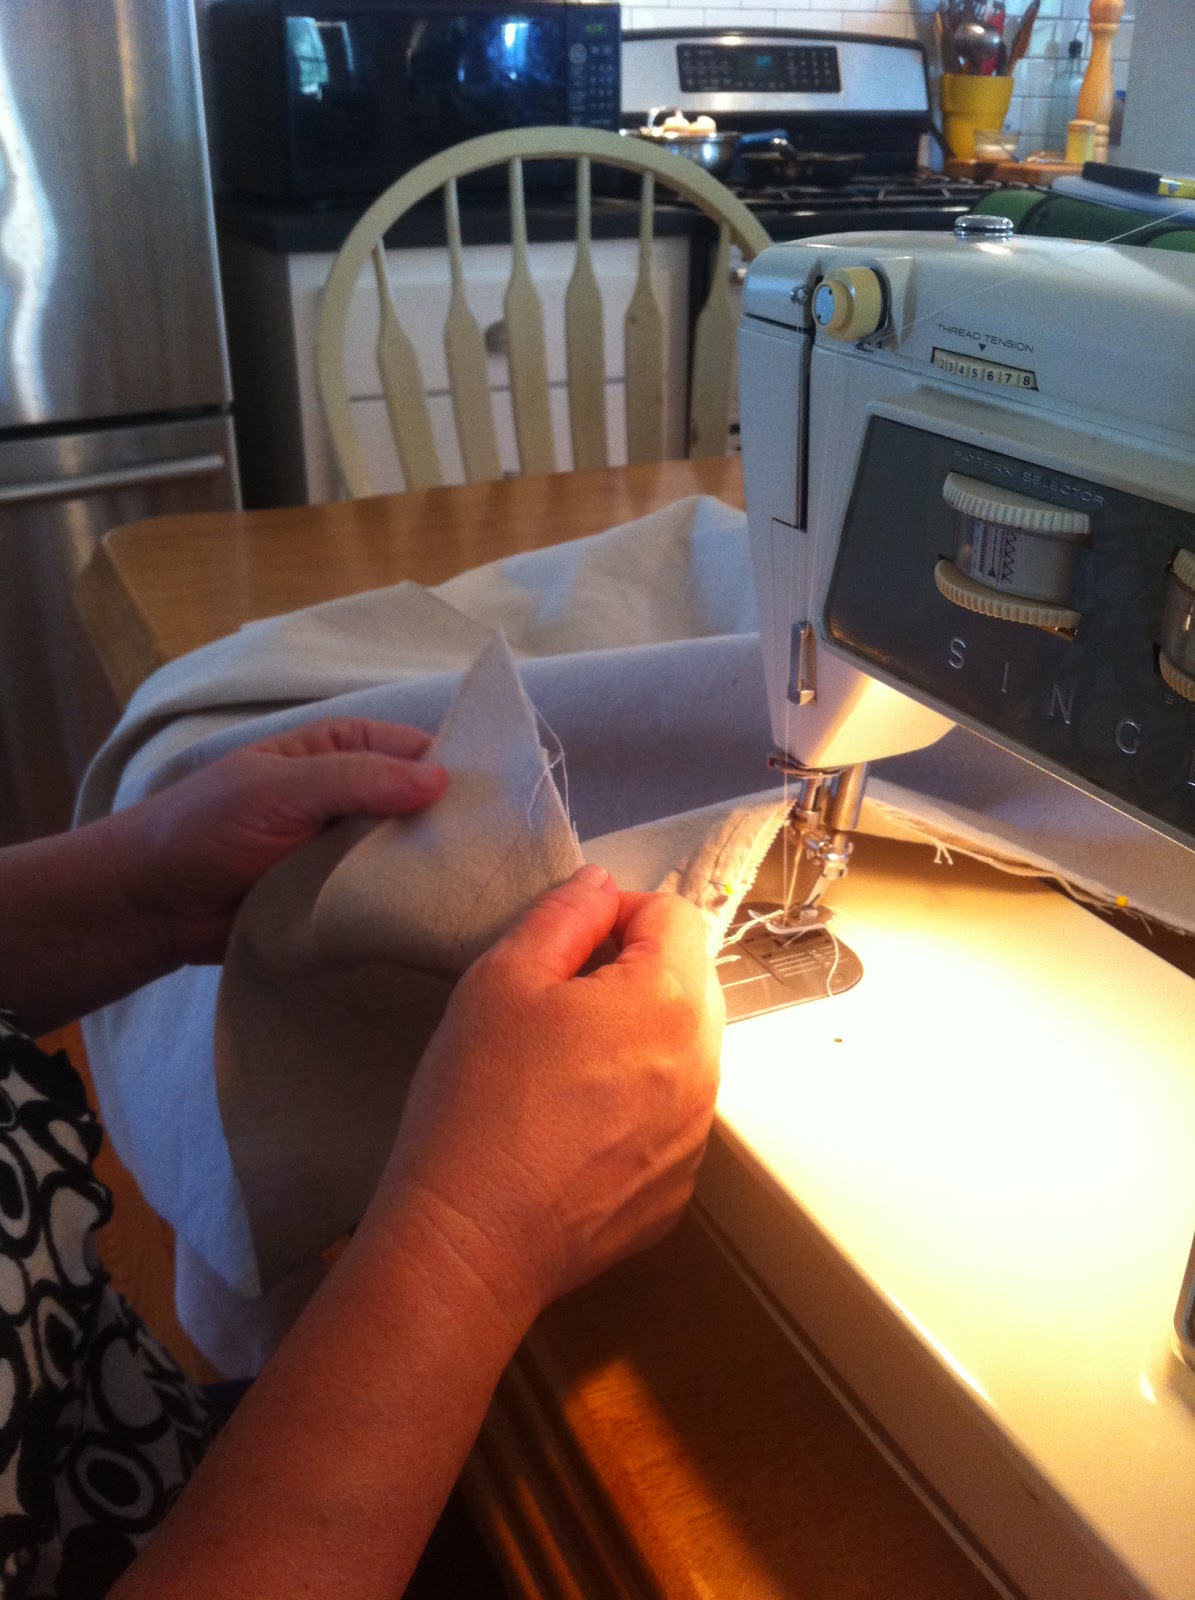
Both Brenda and I have sewing machines, but we decided to use hers because she's already familiar with it. Since I haven't, ahem, ever used mine, we didn't want to waste time learning how to use my particular machine. I've gotta tell you, sitting at that sewing machine felt really good. If I believed in past lives, I'd be convinced I was a seamstress in mine. We used a method we found on YouTube for making the strips for the piping and then we pinned and sewed until it was done.

After spending a couple of hours at the sewing machine, I was pretty proud of my accomplishment. My husband came home and I showed him the great pile of piping I had created and we had this conversation:

Me: Look at all this piping I made this afternoon. Can you believe it?
Him: Yeah, that's great.
Me: I don't think you're seeing what I actually did here. I sewed all. this. piping. This here. I sewed
it. On that machine over there. I sew!
Him: What I'm wondering is, do you cook?


So, we've covered two couches, pinned them and made half the piping we need. All we need to do is sew the couch covers, make the covers for the cushions and make and sew on the skirt. Goodness, this is an involved project!

In between the sewing and pinning, I made a sign for my fireplace mantle and covered some lamp shades with sheet material for the girl's room.


P.S. I made the sign out of wood from an old pallet that's been trashing up our backyard for at least a year. The lampshades were half off at Hancock's. The lamps came from the dollar store and I spray painted them white.

I'm linking up with Jules' William Morris project. More here.


Thursday, May 17, 2012

William Morris Thursday - my children


Even though I start little organization projects every day, projects that don't always get finished, I don't always feel like I have enough to share when it comes time to link up with Jules' William Morris project every Thursday. Although this week isn't any different, I thought I'd share something I started that I'm determined to finish. In fact, my sanity depends on it.

I homeschool my 3 youngest children (all girls) and because they are home with me all. day. every. day. we're all going a little stir crazy waiting for summer to begin. I have said from the beginning that in addition to the regular schooling they'd be getting, I would teach them home skills, too. I don't want my girls to leave my house not knowing how to take care of themselves or their homes. At different times throughout the year, I've started some sort of chore chart system but for one reason or another because of my lack of discipline it wouldn't stick. Then I realized something. While I've been putting into practice the William Morris quote, "Have nothing in your houses that you do not know to be useful, or believe to be beautiful." in the physical rooms of my house, I hadn't thought of applying it to my children. While they have always been and will continue to be a thing of beauty in my eyes, they have not started being, how shall I put it, "useful."


I'm crazy about them, but they're 6, 8 and 10 and they haven't ever done much in the way of regular chores. I go on occasional rants and give them things to do as consequences or follow them around reminding them of things they should be doing, but there hasn't been any system set up so they could learn to own their work and feel good about contributing.


Yesterday, I came up with all the chores I want them to be able to do on their own after some training, and put the steps in a list with a place to check them off as they're completed. I put those lists in plastic sleeves and put them in a binder. I haven't figured out yet how the specific chores will be assigned or how often, etc. but getting the binder done has already made me feel like this is a do-able thing. And of course, once they've mastered the chores, the lists will need to be altered and probably more complex chores added. Of course that's a problem I look forward to. ;)


Just this morning, my self-motivated daughter asked if she could wash the dishes. She already had the binder opened up to the dish washing page and was ready to go. I just gave her a little direction to get started and she ran with it.


On the project front, later today, my friend and I will get started using this:


 To turn this:


Into this:


Source

Hopefully next week I'll have something to share!


Linking up with Jules' at Pancakes and French Fries.


Thursday, April 19, 2012

William Morris Thursday - repainting furniture


I don't have much to report this week as I've taken a little bit of a break from the purging and organizing. I have a whole car load of stuff that needs to go to either goodwill, the consignment store or the recycling center, but we're conserving gas right now so I'm not making many trips into town.

This past weekend, I repainted a chest of drawers for my son's room and another one for the girls' room.


The chest from my son's room was a garage sale find from when we moved into our house. It was painted some other color and I covered it in a thick coat of glossy black paint to go in his camouflage-themed room. It probably wasn't the best choice, but I was just trying to get everyone moved in and it was the easiest thing to do at the moment. My son wanted me to paint it red so I took the leftover red from his walls and whipped up a batch of chalk paint. After painting two coats, I didn't like the way it was looking. You could still see the black underneath the red and it kind of reminded me of the glazing phase of the 60's that you see on lots of thrift store furniture. So I just added another coat and that did it.


When it came time to put the drawers in, I realized that it was kind of plain and since this was a piece for my son's room and not many people would see it, I decided to experiment. I'll blame Pinterest for that.

source

source
So I took the two grays that I had painted on the walls and mixed in a little black until I got 4 shades of gray for the drawers. They aren't a perfect progression from light to dark, but I wasn't going to mess with perfection on this one. I think it turned out nice and my boy likes it, too.


My next project was to paint the girls' dresser a color that would finally match their room. It went from this...


to this


I made some chalk paint out of the leftover paint from the nightstands in there and sealed it with a dark furniture paste. I just need to find some old mismatched pulls for the drawers and it'll be done.

And that's what I did this week.

Linking to Jules' William Morris project. You can join in here.

Thursday, April 12, 2012

William Morris Thursday - my boy's room


While reading through my blogroll this morning, I noticed Jules did a post on cleaning out her bottom freezer drawer. That's interesting, I thought. She usually saves that kind of stuff for Thursday. And then it hit me that today is Thursday. Whoops. Totally forgot about my William Morris project post and I actually have something to share.

For weeks I've been telling my 13 year old son that I'd repaint his bedroom. I painted it an army green to go with all of his military stuff when we built the house 7 years ago. Since then, my boy has really given the room a work out. There were scuff marks, nail holes and lots of places where the paint has peeled off from all the rough playing he's done in there. ;) Since he's moved out of the rough playing phase of his life (sniff, sniff) he's wanted a more mature color palette and clean lines to match his neat freak personality. It's taken every ounce of self control for him to not just grab a brush and some paint and take care of the problem for himself. So, with a four day Easter weekend to take advantage of, I finally stepped up and did what I promised. 

My pictures this week leave a lot to be desired, but you'll get the gist.

The comforter set I got him has a red, black and gray design on it. I took his pillow sham to Lowe's and bought two different shades of gray and a quart of red that matched his bedding. I don't have any full shots of the room because his window doesn't have any blinds on it so they're always blown out.

When I asked my son what color he wanted his room to be, he requested red. I told him red was out of the question, but suggested painting the lower portion dark gray and the upper portion light gray with a red stripe around the middle. He shrugged his shoulders which, I think, means 'whatever' in teen speak.


I borrowed my friends laser level to paint a wide red stripe around the room and then I used it to tape over the red stripe. Then all I had to do was paint the bottom part up to the tape and paint the upper part down to the tape. When I removed the tape, I had a red stripe around the room!


He likes it and is in the process of reorganizing the whole thing. I still have to paint his dresser and nightstand and find a cool table for his tv and game system. He also requested a couch and coffee table so he can relax and a mini fridge, washer and dryer for his closet. I told him it was his bedroom, not a bachelor pad.


On an emotional note, I will admit that I started crying no less than 3 times while doing this project at the thought of my little boy growing up. So if someone who has an older than 13 year old boy will go ahead and tell me that it gets easier, I'd appreciate it. So far, he's turned down our offers of large amounts of cash money to stop growing. Can't say we didn't try.

My next project will be to paint the girls room. I've started by removing a full trash bag full of trash and 2 trash bags full of stuff out of there and moving their dresser onto the porch to paint this weekend. I did find time to redo the bulletin board I got for their room. It was a freebie in the last hour of the last day of a garage sale I went to. I painted the edge a color that matches their room and adhered a vintage sheet to the surface with spray mount. No pictures of that process. I'm getting a little tired of tutorials. My own, that is.


That's it. I'm finding that since starting this project with all the other folks participating, I always have a project in the works. The only thing keeping me from doing more is the time constraint. I'm sure when summer starts, I'll be able to step it up.

I'm linking up to Jules' William Morris project.