Showing posts with label crafty. Show all posts

Thursday, May 24, 2012

William Morris Thursday - random projects


Last Thursday, my incredibly sweet friend, Brenda, came over to help me work on my couch project. We had already gone shopping for our supplies the week before so we were ready to start laying and cutting fabric. It was kind of scary when we made the first cut, but after that, I kept reminding myself that I wanted the pieces to look comfortable and a little slouchy. I'm positive whatever they end up being they'll be slouchy.


We got one couch cut out and pinned and we were out of time. Yesterday, she came over and we got the other couch cut out and pinned and started to work on the piping. Some of my friends couldn't believe I was actually going to go to the trouble of making piping, but even though I want it slouchy, I don't want it sloppy.


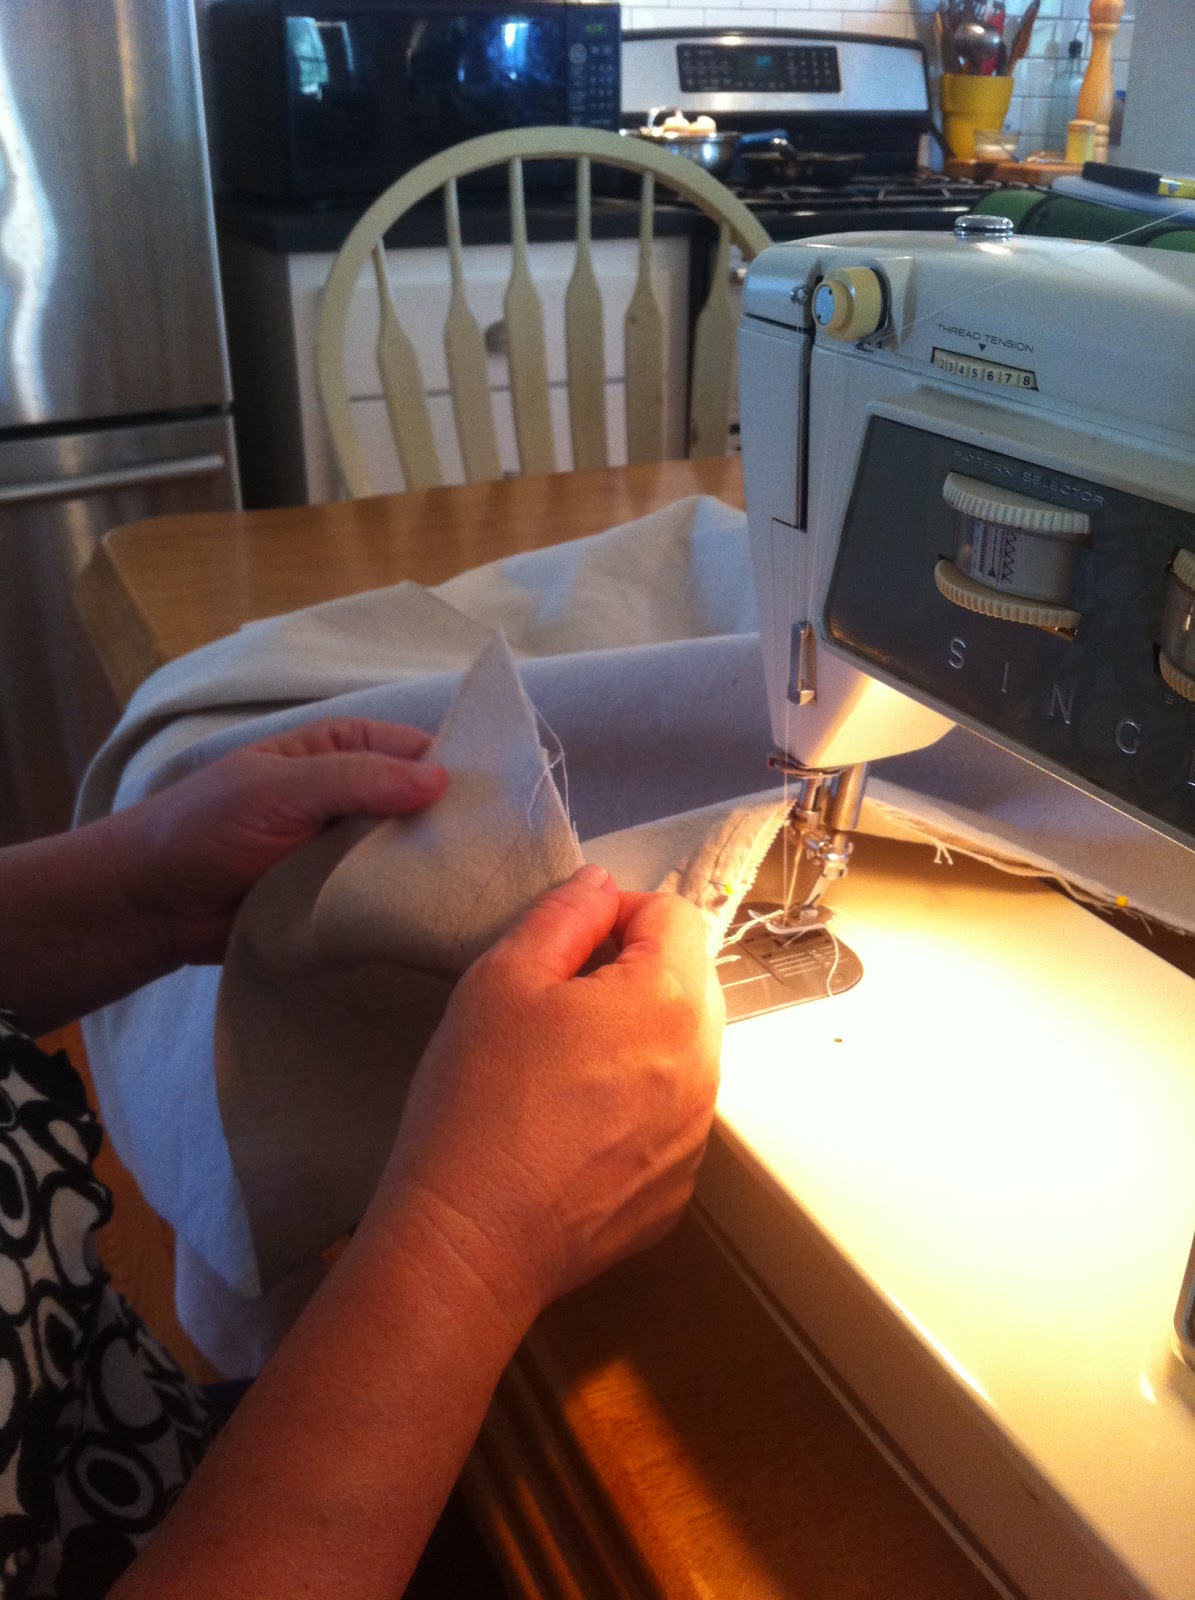
Both Brenda and I have sewing machines, but we decided to use hers because she's already familiar with it. Since I haven't, ahem, ever used mine, we didn't want to waste time learning how to use my particular machine. I've gotta tell you, sitting at that sewing machine felt really good. If I believed in past lives, I'd be convinced I was a seamstress in mine. We used a method we found on YouTube for making the strips for the piping and then we pinned and sewed until it was done.

After spending a couple of hours at the sewing machine, I was pretty proud of my accomplishment. My husband came home and I showed him the great pile of piping I had created and we had this conversation:

Me: Look at all this piping I made this afternoon. Can you believe it?
Him: Yeah, that's great.
Me: I don't think you're seeing what I actually did here. I sewed all. this. piping. This here. I sewed
it. On that machine over there. I sew!
Him: What I'm wondering is, do you cook?


So, we've covered two couches, pinned them and made half the piping we need. All we need to do is sew the couch covers, make the covers for the cushions and make and sew on the skirt. Goodness, this is an involved project!

In between the sewing and pinning, I made a sign for my fireplace mantle and covered some lamp shades with sheet material for the girl's room.


P.S. I made the sign out of wood from an old pallet that's been trashing up our backyard for at least a year. The lampshades were half off at Hancock's. The lamps came from the dollar store and I spray painted them white.

I'm linking up with Jules' William Morris project. More here.


Thursday, January 19, 2012

The crate that became a coffee table, Part 1


Pancakes and French Fries

Today I'm linking up with Jules' William Morris project. I didn't choose this item on my list because it's the only one that fits in with the "have nothing in your houses that you do not know to be useful, or believe to be beautiful" theme, but because I couldn't stand to stare at it for one more day without taking some action. Believe me, I have plenty of overstuffed drawers, cluttered closets and dirty cabinet doors clamoring for my attention. It's just that sometimes, my personality type needs a fun project to be motivated to do a hard project. And this crate was just what I needed. I'm planning on using it as a coffee table/blanket storage chest for all those nights the kids make pallets in the living room and I end up with a huge pile of bedding the next morning that I have to deal with. This chest is going to solve that problem.


This is the crate that my husband got from the locker room of the junior high in our town. Our church bought the building and when they cleaned it out, my husband called dibs on it.


It appears to be some sort of military crate that was used for shipping supplies. The date on the label says 12/69. We've had it sitting on our porch for about a year. I knew when I first saw it, I wanted to transform it into a coffee table, but Mr. Park wasn't too sure. He kind of ignored my dreaming out loud and promptly started storing stuff in it. Fast forward to last weekend, when I forced the issue. I told him I wanted to start working on it and he told me he didn't think it was a good idea. We debated the issue until my husband confessed that he thought it was too flimsy and wouldn't hold up to a life in our living room, which we both knew would include being a stage for spontaneous performances. I released him to shore it up however he saw fit and he was instantly on board.


Unfortunately, for him, that was going to require a lot of tedious work. Fortunately for me, he can do pretty much anything he sets his mind to. I kind of felt bad for him, working all day last Saturday cutting and hammering and running back and forth to Lowe's for more supplies, but he was right, it needed it. Besides, I was the one who ran to Lowe's. ;)


The first thing Mr. Park decided this crate needed, in order to be the perfect coffee table, was to have  a little taken off the top. I wanted to put caster wheels on the bottom, so it made sense to make it shorter.


I have to agree, that's a lot better height for a coffee table. Especially since our couches sit kind of low to the ground.


The next thing it needed was inside reinforcement. Mr. Park cut plywood pieces to reinforce the inside walls and screwed them in place.


Even though this part of the project was mostly about what my husband wanted to do to make this thing structurally sound, I had some pretty firm ideas about how I wanted it to look. I knew I wanted caster wheels on the bottom, so those skids that were there had to go. The only problem was that they were holding the whole thing together and a few pieces of thin plywood inside weren't going to do the job that they were doing. So after a little consultation with his brother, Mr. Park decided to turn the box upside down, remove the large skids and replace them with smaller pieces that matched the braces on the sides.


Once he removed one of the skids, we saw that they had been attached with nails from the inside.


Nice.


While I sawed the ends of the nails off with a Dremel, Mr. Park cut and attached the new braces in place.


As we lost the last bit of sunlight, the first part of this project was complete. Now all I have to do is settle on the wheel style I want, find hinges for the lid and stain the whole thing. Stay tuned next week for the completion of this project!


Linking up here...

Pancakes and French Fries


Monday, December 19, 2011

DIY Christmas gift: A Barbie carrying case

Earlier in the fall, I found this glorious find at my local Goodwill.


What, you don't think it's glorious?!? I know the pink is a little alarming and it is, after all, just an old suitcase, but I looooove old suitcases and can't get enough of them lately. I actually didn't have a plan for this baby. I just saw it on the shelf, checked it for broken hinges, gave it a thumbs up and threw it in my cart. Pretty much every time I go into any thrift store, I check the luggage section. Not to give away my secret or anything but if you've been on Pinterest lately, you've seen how often repurposed luggage is showing up. From a stacked suitcase night stand to kitty beds. So, no, I don't ever pass up a cheap piece of luggage.


When I pulled this piece out of my car, I noticed something familiar about that particular shade of pink. Where had I seen that? And then it hit me, Barbie! It's the perfect shade of Barbie pink. And then I knew what I was going to do with that suitcase. It would make an excellent carrying case for the gobs of Barbies my girls have laying around their bedroom. Let me tell you, I have 3 girls, ages 5, 8 and 9 and with them being in the height of their Barbie-playing years, they've got a lot of junk. What they don't have is a trunk for all that junk. All I needed to do was stencil that familiar barbie logo on the outside and viola, I'd have it! Here's how I did it.

The inside of the case, as you can see, is already perfect for holding all their dolls and the little pouches on the sides will hold all those shoes and clothes they have. So let's just go straight to the outside.


First I went online and looked up Barbie logos. I found the name and the silhouette logos I liked and printed them out.


One thing I noticed with this suitcase is that it was a little faded on one side so the pinks were just a shade or two off from each other. I know my girls would never notice, but let's face it, this project was just as much a present for me as it was for them and I wouldn't stop noticing it so I decided to do the silhouette on the perfect pink side and do a reverse stencil of the name logo on the other side. That way, there wouldn't be enough of the faded pink to really notice a difference.


I bought some black spray paint made specifically for painting plastic and created two stencils. Let me just say, if I had a Silhouette, things would have been a lot easier and less time consuming, but I don't have a Silhouette so this is a true DIY project.

I tore a piece of wax paper big enough to cover the image I wanted to cut out. Then I took green painters tape and stuck it to the wax paper, overlapping as I went, until I had an area slightly bigger than my image.


Next, I taped my image over the green tape/wax paper and used an exacto knife to cut it out. What I had after everything was cut, was my stencil. All I had to do was peel away the wax paper and stick it down. On the barbie head side, I masked off everything around the stencil so the only black would be the silhouette and on the other side, I stuck the letters on and painted everything else black.


One mistake I made when painting over the barbie head stencil was that I put several layers of paint on at once and this caused the paint to bleed under the tape a little. No worries, though, I just used some goof off, a toothbrush and a sharpie to clean up the edges. On the other side, I learned my lesson and did one coat at a time for a nice clean edge.


I'm so happy with how it turned out. This was one of those once in a lifetime lightbulb ideas for me, so I'm hoping my girls love it!


The next time you see a suitcase in a thrift store or a garage sale, look at the color and think of the toys your kids play with. Is it Ninja Turtle green? Star Wars blue? Lego red? Almost any color suitcase could be turned into a great carrying case for all those toys with accessories out the wazoo!

Linking up to these blogs:


Sumo's Sweet Stuff


Tip Junkie handmade projects