Friday, October 07, 2011

31 Days: Day 7 - Improving your home through privacy.


Today's topic is short and sweet. Privacy. It's important. Especially in a marriage. 


I once heard a speaker at my church say that one of the best things you can do for your marriage is put a lock on your bedroom door. Really? One of the best things? Well, I'm not an expert on prioritizing the things that are good for your marriage in order of importance, but I will agree, from experience, that it's pretty high on my list.


My husband and I have, how shall I put it, a pretty healthy marriage in the intimacy department. Hence, the four kids running around. We also love to have deep conversations about issues ranging from my husband's work situation to what we would do if we had 'the force'. My husband's answer, by the way, "I would use it to turn off the water in the backyard. You wanna go check and see if it worked?"


The one thing that kills the mood, any mood, for me, is when someone comes barging into our room. We've told our kids that they need to always knock when they come to a closed bedroom or bathroom door, but unfortunately, that doesn't always stick. When you have a lock on the door, a working lock, the only interruption is a knock. Or a jiggling door knob.


And yes, we have had children walk in on us during...really intense conversations. And we've done our best to explain what exactly it was that they just saw. It makes for a really funny story when you're at a party, but is really awkward when you're stumbling with your words trying to convince a 6 year old how much mommy and daddy like to wrestle or hug or whatever we came up with at the time. How much easier would it have been if we just had a working lock on that door?


So, if you have children running around your house, barging through every door like they own the place, make sure those doors have locks on them. I know it sounds like a no-brainer, but at the moment, my bedroom has a lock on it, but it's broken. And that is on my to-do list for this weekend. 


My fourth child is being born on the other side of that door.


Click here for the rest of the 31 Days posts.

Thursday, October 06, 2011

31 Days: Day 6 - Organization

This is an area I might be camping out in for awhile. I'm desperately trying to be more organized, always have been. I have every book written on organization and I feel like I've purchased every plastic bin, bucket and tote I've seen from Target to the dollar store. I even used to sell Tupperware. But lately, I've gotten a new perspective on the specific area of storage. I am finding myself wanting my storage options to be beautiful and meaningful. Not necessarily the bulging clothing bins I have stuffed into my attic, but the places that are out in the open for things like shoes, pens or even the wood and newspaper we use to start fires in the fireplace. Why can't those containers be beautiful? I think they can and should be. I want them to disappear into the decor of my home and not even come across as a container. 


There are lots of ideas on the internet for clever storage options. 


Armed with the ideas I've been coming across, I'm starting to look at containers and packages in a different way. First, if I am drawn to the beauty of an item, then if that item can be repurposed. It's kind of fun. I feel like a sleuth when I'm perusing the shelves at my local Goodwill or even the grocery store. Here are some containers I've started using in my school room to complement the pretty shelves my husband made for me. (that obviously haven't been painted yet)

Vintage tin I found at my mother-in-law's house

Coffee and tea tin I saved

One of a few train cases I have.

This one was best suited for the location. 
It still has its plastic tray...

and lots of room underneath for more supplies.

 The one on the left was a 29 cent Goodwill purchase and the others I got at the grocery store. If you need me, I'll be eating steel cut oats and drinking tea.

Now go forth, and look for things that you're drawn to that could make great containers. And improve your home while you're doing it!


Click here for the rest of the 31 Days posts.

Wednesday, October 05, 2011

31 Days: Day 5 - Home cooked meals


How many of you would agree that coming into a home where something good is cooking on the stove improves the whole house? I even read somewhere that if you really want to sell your house, you should bake some chocolate chip cookies before the open house and it's as good as sold. I don't know how many times that's worked, but I myself have fallen under the spell of a fresh baked cookie so I don't doubt it!


Today I'm going to share a recipe Pioneer Woman style. Who doesn't like a recipe with step by step photos? It's practically fool proof. The only problem with my recipes, those that are really mine, is that I don't always have exact measurements. I know there are people who live by the perfectly leveled tablespoon, I'm just not one of those girls. Luckily, exact measurements aren't a make or break issue in this recipe.

I hope you don't have chocolate chip cookies on your mind now because you're gonna have to switch gears a little. I'm sharing my recipe for chicken nuggets. My kids love chicken nuggets. When I say love, I mean it doesn't matter if it's Tyson frozen nuggets or Chick Fila, they eat em up. In fact, my oldest daughter claims she doesn't eat chicken and sticks pretty close to her claims except when it comes breaded in the form of a nugget. I'm not much for packaged things, not that I'm a food snob, I just like to do things myself which usually involves less moolah. I have been making my own version of chicken nuggets for a while now and I rarely have leftovers.


The most important ingredient is, of course, the chicken. Another thing I started doing a while back is buying thighs instead of breasts. I can't remember who influenced me to go from breasts to thighs, but it happened and I haven't ever gone back. Every time I eat a piece of dry chicken breast I think to myself, Yep, that's why I'm a thigh girl. Never goin back. 


The next thing you want to do is thaw your chicken and cut it into bite-sized pieces. Think Chik-Fila. Not perfect, uniform pieces, just small enough so they'll cook fast. The next thing I did was make the stuff for the breading. These are the things you'll need for that.


I just took a bowl and cracked an egg into it and then added about 3/4 of a cup of buttermilk. Next add your chicken pieces a little at a time to coat them. This isn't like chicken fried steak where you hand dip each piece and then dredge in flour. You gotta work these little guys in groups.


For my breading, I usually just do bread crumbs and they're fine, but this time I added flour to that. So I guess you could say I had about a cup of bread crumbs and 3/4 cup of flour. Then I added some Red Robin season salt. Mix it all in good and then add your chicken pieces. My only piece of advice here is to make sure you shake off some of the egg mixture before you add them or you'll have big chunks of breading and egg and you'll have to make more breading before it's all said and done.


Once you have your chicken pieces coated, just add them a piece at a time to your hot oil. I used vegetable oil because that's what I had. You can use whatever frying oil you're used to.


I was on my fourth batch before I actually looked at my clock to see how long these things take to cook. It really only takes 3 minutes to cook each batch. I put them in and then a minute and a half later, I turned them over. The great thing about thighs is that there's not a big risk of overcooking and drying them  out. Thigh meat is dark meat so it's gonna stay tender and juicy even if you get scared and think 3 minutes isn't long enough.


Aren't they lovely?!? They're perfectly seasoned and crispy on the outside and juicy on the inside. I had to block off the kitchen to keep little fingers out just so I could take a picture....and then they were gone. Such is the life of a chicken nugget at my house.


Click here for the rest of the 31 Days posts.

Tuesday, October 04, 2011

31 Days: Day 4 - Improving your life with relationships


I know I said that my topic would be improving your home, but I also mentioned improving the people inside the home. When the people are happy and healthy, so is the home!


Today, I'm posting about something near and dear to my heart - Tuesday morning coffee.


About a hundred years ago (maybe it was 7 or 8, I'm not really good with time) I started having coffee once a week with 3 of my friends. Actually, the other 3 girls had already started having coffee and I felt left out so I promptly invited myself and have been going ever since. Sometimes I drink a plain old coffee with hazelnut creamer and sometimes I don't drink anything at all. And then there was the time I drank a sugar-free, non-fat latte made with espresso and topped with whipped cream and experienced the most productive day of my life!


Of course you know that to 'have coffee' covers a lot more than it implies. Aside from the actual drinking of the hot beverage of your choice, there's the visiting. Always visiting. And we girls never run out of things to say. We've shared births and deaths, marriages and divorces. We've met at different houses and had different people show up, but always there's been support and love.   And I'd like to say there's never been any gossip, but we've all had our share of drama over the years and sometimes that stuff just comes out.


Did I forget to mention that coffee has been at my house for the past couple of years? I feel kind of like it's my baby. I'm pretty protective of it. It's turned into a sacred time slot in my week. Even when I started homeschooling last year, Tuesday coffee remained. And this year, I've tried to be a little more intentional with it. Not in the way you might think, I just don't want to miss any good opportunities. You know, you've got women, sitting around, relaxed with a cup of coffee. Sometimes people feel comfortable enough to talk about things they wouldn't normally talk about. There's no pressure, though. It seems to be happening naturally. And I have to say that it's improved my life greatly. I've always had friends around, but when there's a regular time and place dedicated solely to nurturing and maintaining relationships, it improves the quality of a lot of things. It gives you a place to vent a little, if needed, to share exciting news with people who will be excited with you, to get a different perspective from someone outside your shoes and maybe even hear some hard truth because someone loves you enough to be honest. I've seen some tears and heard lots of laughter. Yep, I've seen all of that happen on a Tuesday morning over a cup of coffee.


How are relationships improving your life?


Click here for the rest of the 31 Days posts.

Monday, October 03, 2011

31 Days: Day 3 - Updating your furniture

I've got to admit, I've never really liked the way my house looks on the inside. I love the house, yes, but I haven't ever really known how to decorate or have my home reflect my personality. But this past year has been really eye-opening for me. I'm figuring out who I am, gaining the courage to be exactly who that is without apology and motivation to go for it. I also turned 40, so if that isn't motivation, I don't know what is. One of the things I've been wanting to do is replace all of my "adult furniture" (that we paid way too much for) with repurposed items that I love. I love how beautiful, well-made furniture from the past can be found in all sorts of places for next to nothing. One of those pieces is a rocking chair I found in a junk store in Mason, Texas on my way to Fredericksburg. My husband and I were in the upstairs part of the store when I saw this...


I immediately found my husband and gave him 'the look'. I'm not a big shopper so I don't pull this look out very often, but I just fell in love with this chair. And if I remember correctly, it was only $25. That, to me, is a steal for a chair this nice. I might have gotten it cheaper at a garage sale, but this was a store and I'm not a very aggressive haggler.

The first thing I did was....let it sit on my porch for several months. I love seeing how something's going to look in my mind, but getting from that to the actual work it takes to see it happen is another thing. When I did get to that point, I brought it in the house and took the seat off to see what I was working with.


The seat was held in by 4 screws in the corners so I just removed those screws and pulled the seat out. The cushion was in pretty bad shape and it was obviously old so I didn't want to just cover it up not knowing what was under all that.


This is where the dirty work begins. I just took a screwdriver and started carefully removing staples.


When I got all the staples out, I found exactly what I thought I would - nasty stuff.


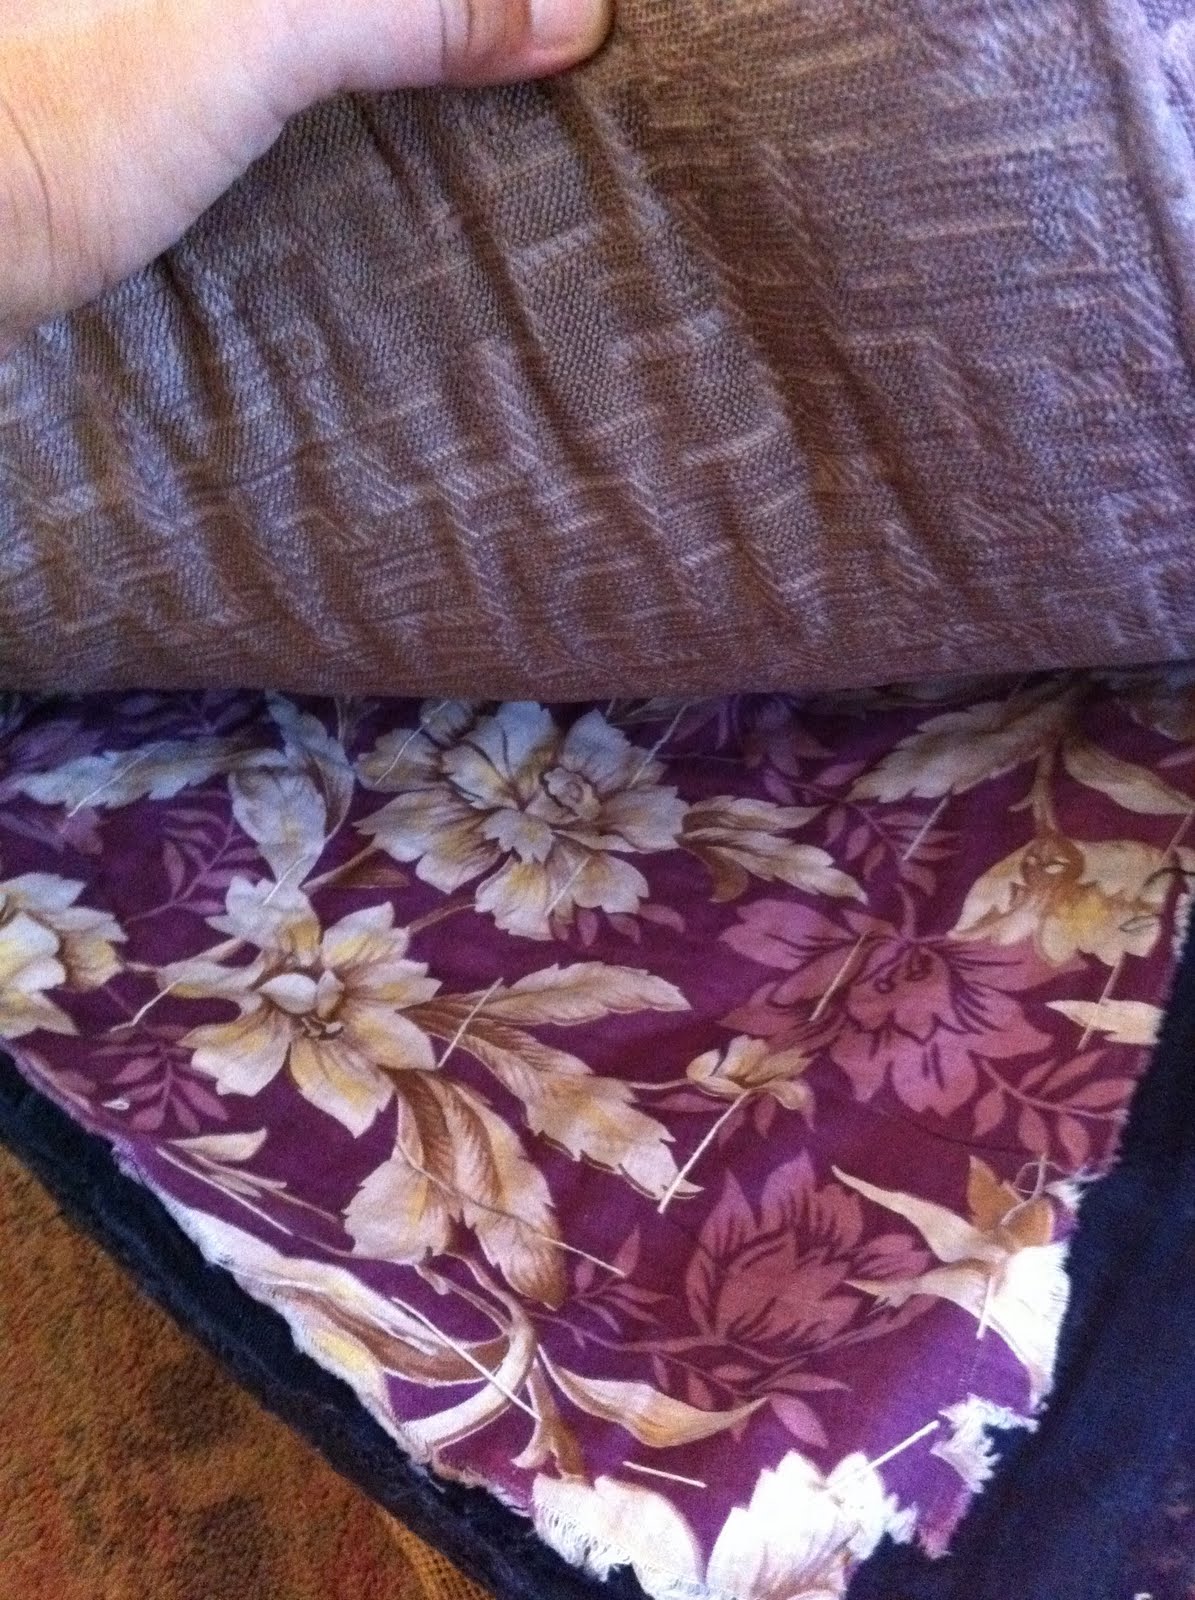
I was, however, able to appreciate the different layers of fabric that told the story of what this chair had been through. There were 4 layers of different kinds of fabric before I got to the stuffing and then the metal coils were covered with burlap.


Again, I failed to take pictures of how I recovered it, but there are lots of great tutorials online that will walk you through that process.

I decided I wanted to cover the cushion with a quilt piece. I had found half a quilt (it was literally cut down the middle) at a thrift store in Arlington for $8. I thought that was a little high, but considering all the uses I could find for it, I went ahead and bought it. I loved that it was white with different colored fabrics used for the design. Perfect for my rocking chair. The first thing I had to do was cut a piece of burlap to fit over the springs. Not sure why it was there other than to just keep everything in place when the actual cover was put on. Next, I put a foam cushion over the burlap and then laid my quilt over that to make sure it was centered. A bunch of staples later, the seat was finished. Not sure how it will hold up, but I may change my mind before that ever happens.

The next part of this project happened outside. I took a Mouse sander and started sanding. A friend of mine suggested that it would look really nice with just the natural wood showing, so I decided to sand it down and stain it. Wow, was that a good choice. The wood on this rocker is just beautiful. I used a dark stain and it really brought out all the great characteristics of the wood. Normally, I'm a 'spraypaint everything white' kind of girl, but I'm glad I didn't on this one.


Here she is all finished and ready to improve a little corner of my living room that desperately needs it!


Click here for the rest of the 31 Days posts.

Sunday, October 02, 2011

31 Days: Day 2 - A crafty project to improve your mantel

This weekend, I've been crafting. It feels so good to be creative and spread a bunch of stuff out on my living room floor and just make something. I was working on a rocking chair redo (which I'll post on another day) that required me to use an old quilt. The scraps that were laying around after I was finished were just begging to be used so I crafted them into a bunting for a fall mantel. I didn't take pictures of the whole process because I was "in the zone", but I did get a shot of the finished product. It was a pretty easy thing to do so I'll just give you the steps.


Here's what I did. I had some pretty big pieces of quilt leftover from the other project so I started to cut out triangles for a bunting, but after I cut out one, I wondered how I was going to attach it to anything. I'm not into sewing (yet) so that option was out. Then I noticed that I had a big edge piece and if I cut out my triangles from the edges of the quilt, there would already be a folded seam for me to string something through. Problem solved! After cutting out all the triangles, I got out a big piece of burlap. I love burlap! And to me, it looks especially at home during the fall. I cut out some bigger triangles to go behind the quilt ones and hot glued them to the backs. Then I got ready to thread them onto something. I couldn't find my twine, so I got out my roll of hemp. The hemp string looked pretty wimpy as a single strand holding up the bunting so I took six strands and braided them and then it looked substantial enough to hold all that up. I knotted the ends and threaded it through my triangles and voila!, a bunting fit for a fall mantel. Can't wait to finish the whole thing and show you guys!


Click here for the rest of the 31 Days posts.

Saturday, October 01, 2011

31 Days of Improving Your Home


There's this blog called The Nester and she's all about learning to be beautiful without having to be perfect. For the month of October, she's hosting a 31 Days challenge where you blog about a subject for 31 days and link it up to all the other bloggers who are doing it (last count was around 700!). I realize it's been May since I last posted, but I thought I'd just jump back in! I'm starting late, but trying to catch up to everyone else. Not sure how long I'll last, but I need motivation around here and it seemed like the perfect jumping off place to get some stuff done around here.

My subject is 31 Days of Improving Your Home. Notice I didn't say 31 Days of Home Improvement. I didn't want anyone to think I was going to take 31 days to blog about the 90's sitcom or Lowe's! It's a broad subject, which is what I need to be able to do 31 posts about it. I'll be posting about projects I'm working on inside and outside of my house, things that are going on in the people that live here, organizational stuff I'm working on and everything in between.