
I've got to admit, I've never really liked the way my house looks on the inside. I love the house, yes, but I haven't ever really known how to decorate or have my home reflect my personality. But this past year has been really eye-opening for me. I'm figuring out who I am, gaining the courage to be exactly who that is without apology and motivation to go for it. I also turned 40, so if that isn't motivation, I don't know what is. One of the things I've been wanting to do is replace all of my "adult furniture" (that we paid way too much for) with repurposed items that I love. I love how beautiful, well-made furniture from the past can be found in all sorts of places for next to nothing. One of those pieces is a rocking chair I found in a junk store in Mason, Texas on my way to Fredericksburg. My husband and I were in the upstairs part of the store when I saw this...

I immediately found my husband and gave him 'the look'. I'm not a big shopper so I don't pull this look out very often, but I just fell in love with this chair. And if I remember correctly, it was only $25. That, to me, is a steal for a chair this nice. I might have gotten it cheaper at a garage sale, but this was a store and I'm not a very aggressive haggler.
The first thing I did was....let it sit on my porch for several months. I love seeing how something's going to look in my mind, but getting from that to the actual work it takes to see it happen is another thing. When I did get to that point, I brought it in the house and took the seat off to see what I was working with.

The seat was held in by 4 screws in the corners so I just removed those screws and pulled the seat out. The cushion was in pretty bad shape and it was obviously old so I didn't want to just cover it up not knowing what was under all that.

This is where the dirty work begins. I just took a screwdriver and started carefully removing staples.

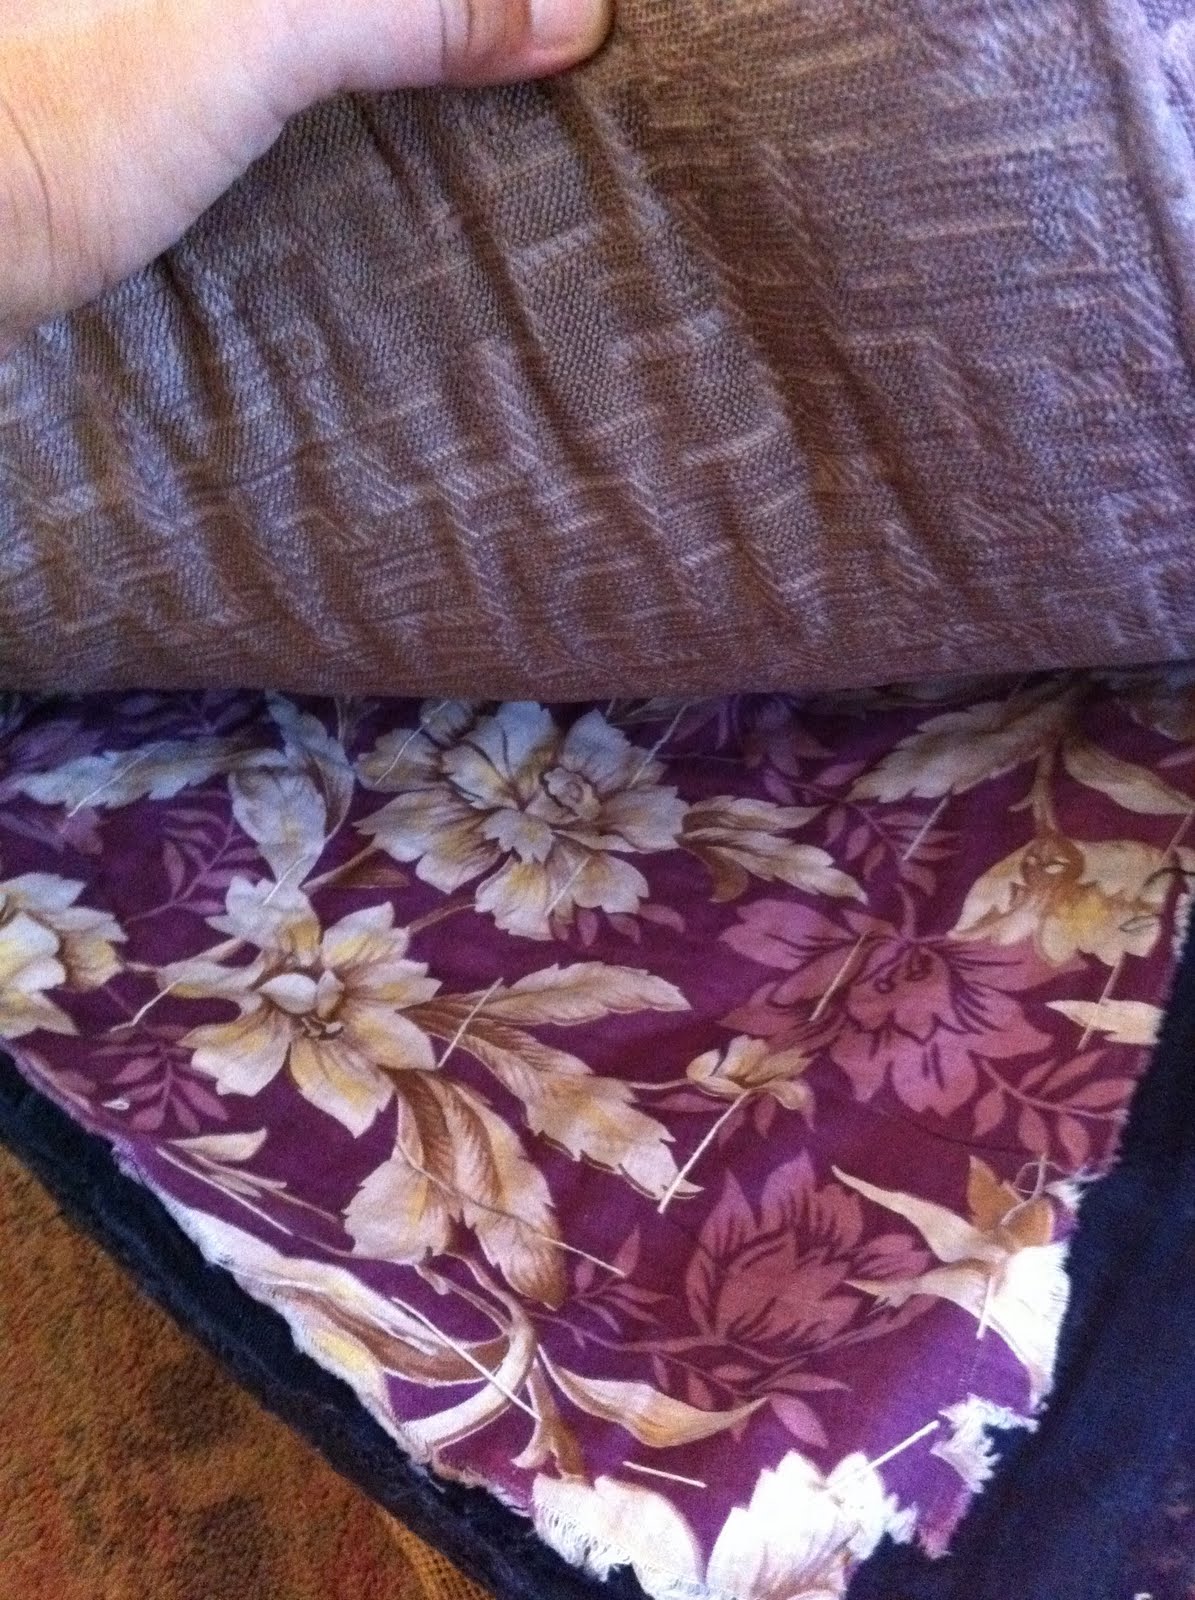
When I got all the staples out, I found exactly what I thought I would - nasty stuff.

I was, however, able to appreciate the different layers of fabric that told the story of what this chair had been through. There were 4 layers of different kinds of fabric before I got to the stuffing and then the metal coils were covered with burlap.

Again, I failed to take pictures of how I recovered it, but there are lots of great tutorials online that will walk you through that process.
I decided I wanted to cover the cushion with a quilt piece. I had found half a quilt (it was literally cut down the middle) at a thrift store in Arlington for $8. I thought that was a little high, but considering all the uses I could find for it, I went ahead and bought it. I loved that it was white with different colored fabrics used for the design. Perfect for my rocking chair. The first thing I had to do was cut a piece of burlap to fit over the springs. Not sure why it was there other than to just keep everything in place when the actual cover was put on. Next, I put a foam cushion over the burlap and then laid my quilt over that to make sure it was centered. A bunch of staples later, the seat was finished. Not sure how it will hold up, but I may change my mind before that ever happens.
The next part of this project happened outside. I took a Mouse sander and started sanding. A friend of mine suggested that it would look really nice with just the natural wood showing, so I decided to sand it down and stain it. Wow, was that a good choice. The wood on this rocker is just beautiful. I used a dark stain and it really brought out all the great characteristics of the wood. Normally, I'm a 'spraypaint everything white' kind of girl, but I'm glad I didn't on this one.

Here she is all finished and ready to improve a little corner of my living room that desperately needs it!


No comments:
Post a Comment